Base Torres Hike: Full Guide to Mirador Las Torres
The Base Torres hike is a hard ~18–22 km full-day trek to the towers. Get route, difficulty, the winter guide rule, what to pack, and when to start.
By Patagonia Tourism Guide · First published 17 Jul 2026 · Updated 1 Aug 2026
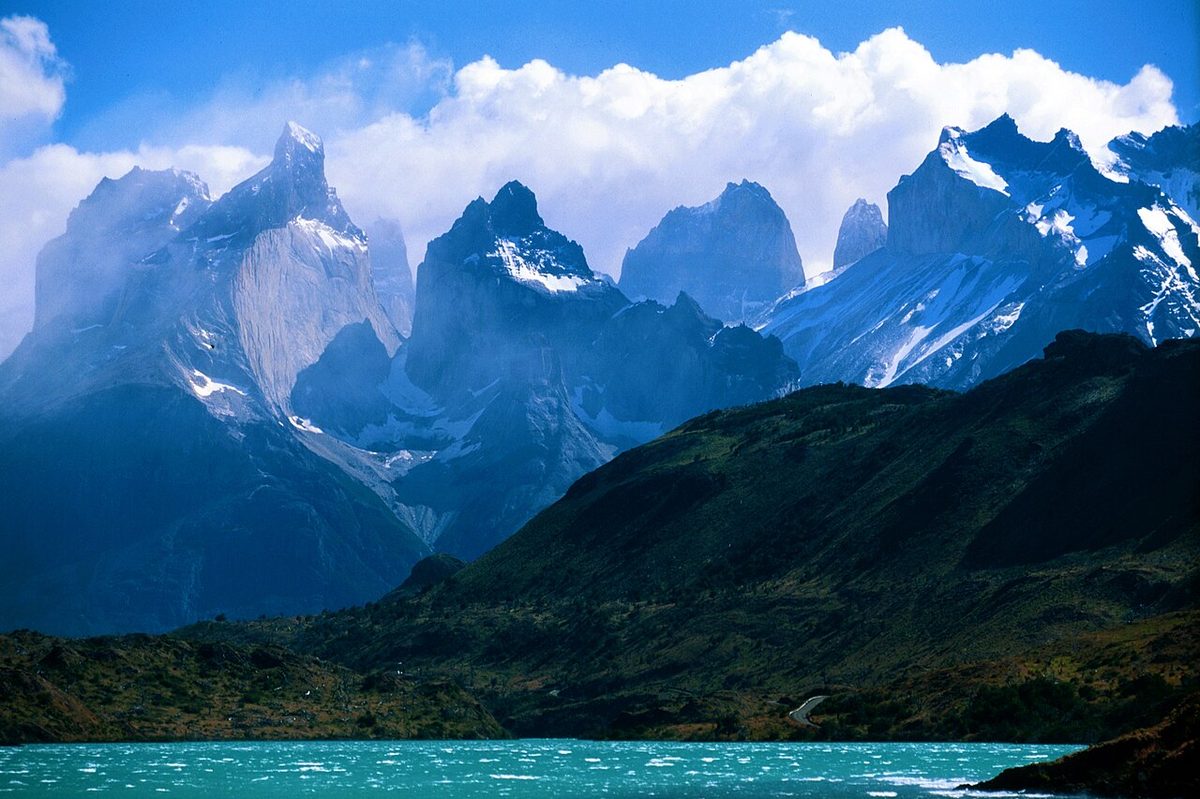
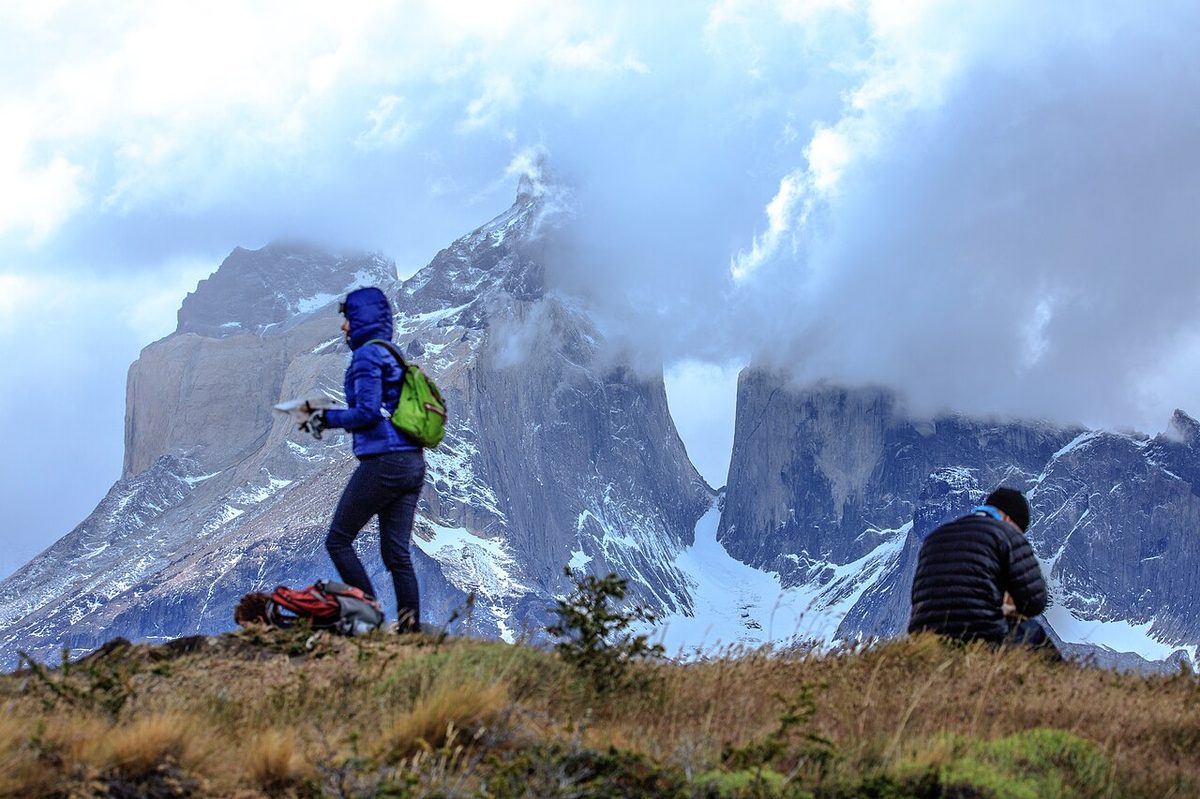
0 — 2 km Fig. 1 · The three granite towers above the glacial lake at the end of the Base Torres hike in Torres del Paine · Photo: Murray Foubister / CC BY-SA 2.0 via Wikimedia Commons
The Base Torres hike is the one that ends up on the postcard. You climb all day for a single view: three vertical granite towers standing over a turquoise glacial lake, and almost everyone who reaches it goes quiet for a minute before reaching for a camera.
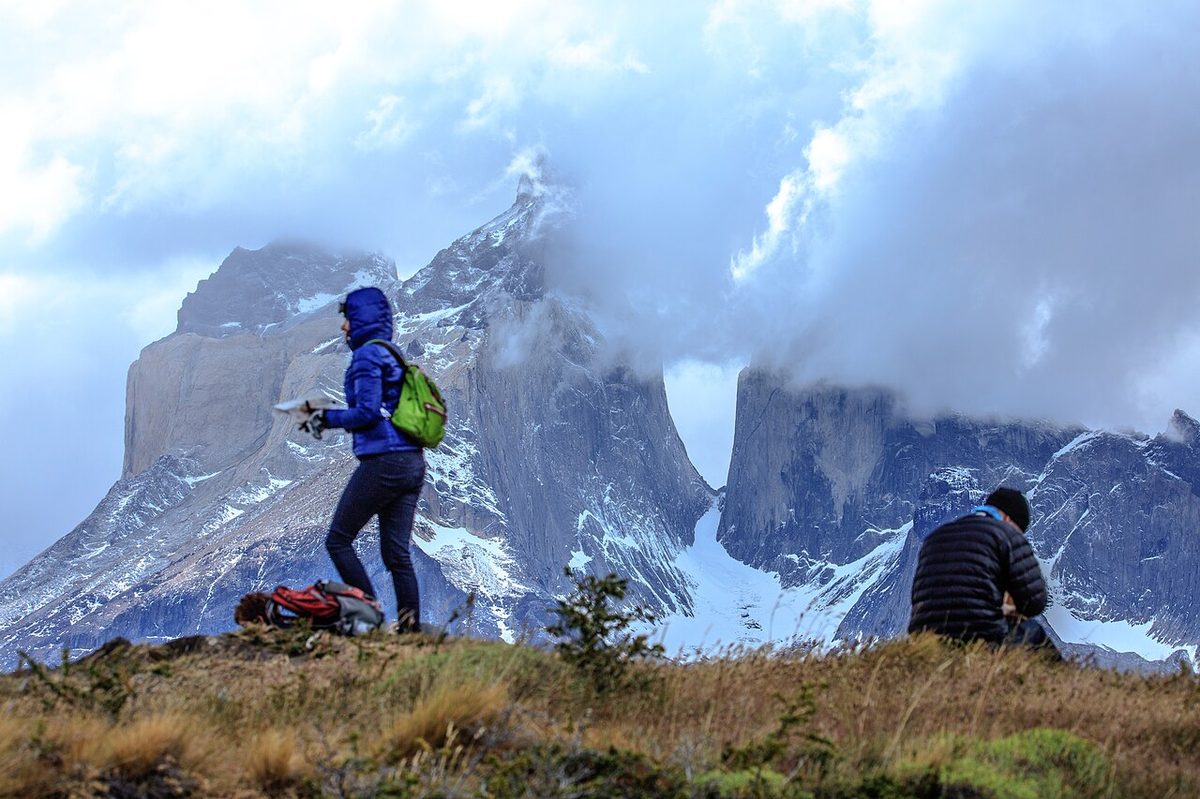
What the postcard does not show is the last hour. It also does not show the wind, the false summits, or the way the towers can sit behind cloud all afternoon while you wait on a cold boulder hoping they clear.
So this is the honest version: what the hike actually involves, how hard it really is, and how to give yourself the best shot at the view.
The Base Torres hike (also called the Mirador Las Torres hike, or the Base of the Towers) is a hard, full-day, out-and-back trek of around 18 to 22 km to Mirador Base Las Torres, the lookout beneath Torres del Paine’s three granite towers. Expect roughly 7 to 10 hours of hiking, around 750 to 900 m of ascent, and a brutal final kilometre over a boulder-field moraine. Start early.
This guide is for the day hiker who is not doing the W Trek and wants the towers in a single big day, and for trekkers who want to know what their Base Torres morning will feel like. It is also for anyone trying to figure out the winter guide rule, the sunrise option, and whether their knees can handle the descent. If you are still deciding where this fits in your park plan, start with the Torres del Paine travel guide.
Base Torres Hike at a Glance
Here are the numbers, hedged on purpose. Different sources measure this trail slightly differently depending on where they start and which GPS they trust, so treat these as a realistic range rather than a promise.
Detail
What to expect
Distance (round trip)
Around 18–22 km, out and back
Time
Around 7–10 hours hiking (fast hikers 5–7; average 8–10)
Ascent
Around 750–900 m; max elevation ~850–900 m at the mirador
Difficulty
Hard / strenuous; the final ~1 km moraine is the crux
Trailhead
Hotel Las Torres / Welcome Center (Centro de Bienvenida)
Season (self-guided)
Roughly October–April; best clear-weather odds December–February
Guide needed?
Yes in winter (~May–September), CONAF requires a certified guide — verify dates
Cost of the hike
Free (you still need a park entrance ticket)
Water
Carry your own; refill at Refugio Chileno (potable tap)
Swipe to see all columns
Table 1
If you take one thing from this table, make it the start-early line and the winter rule. Those two decisions cause more disappointment than anything else on this trail.
The Route, Section by Section
The trail is essentially one long valley climb with a nasty sting at the end. It breaks into five distinct parts, and knowing them in advance makes a real difference to how you pace the day.
Trailhead: Hotel Las Torres and the Welcome Center
The hike officially starts at Hotel Las Torres. If you are not a guest there, you will begin a little earlier at the Torres del Paine Welcome Center, where day hikers are dropped off.
Getting to that point is its own small mission. Most people arrive at the Laguna Amarga gate by bus or car, show their ticket to the ranger, then take a shuttle the last 7 km to the Welcome Center (around CLP 4,000–4,500, cash, per person). The official Reserva Las Torres guide notes that the Welcome Center opens to general visitors at 9 AM, while guests staying inside the reserve or joining a 7 AM excursion can start two hours earlier. That head start matters more than it sounds.
The first stretch is flat, an easy walk across grassland past the hotel, with a few swing bridges over the Río Ascencio. There are a lot of crisscrossing paths here. Follow the signs for “Refugio Chileno” and do not overthink it.
Up the Ascencio Valley and Windy Pass
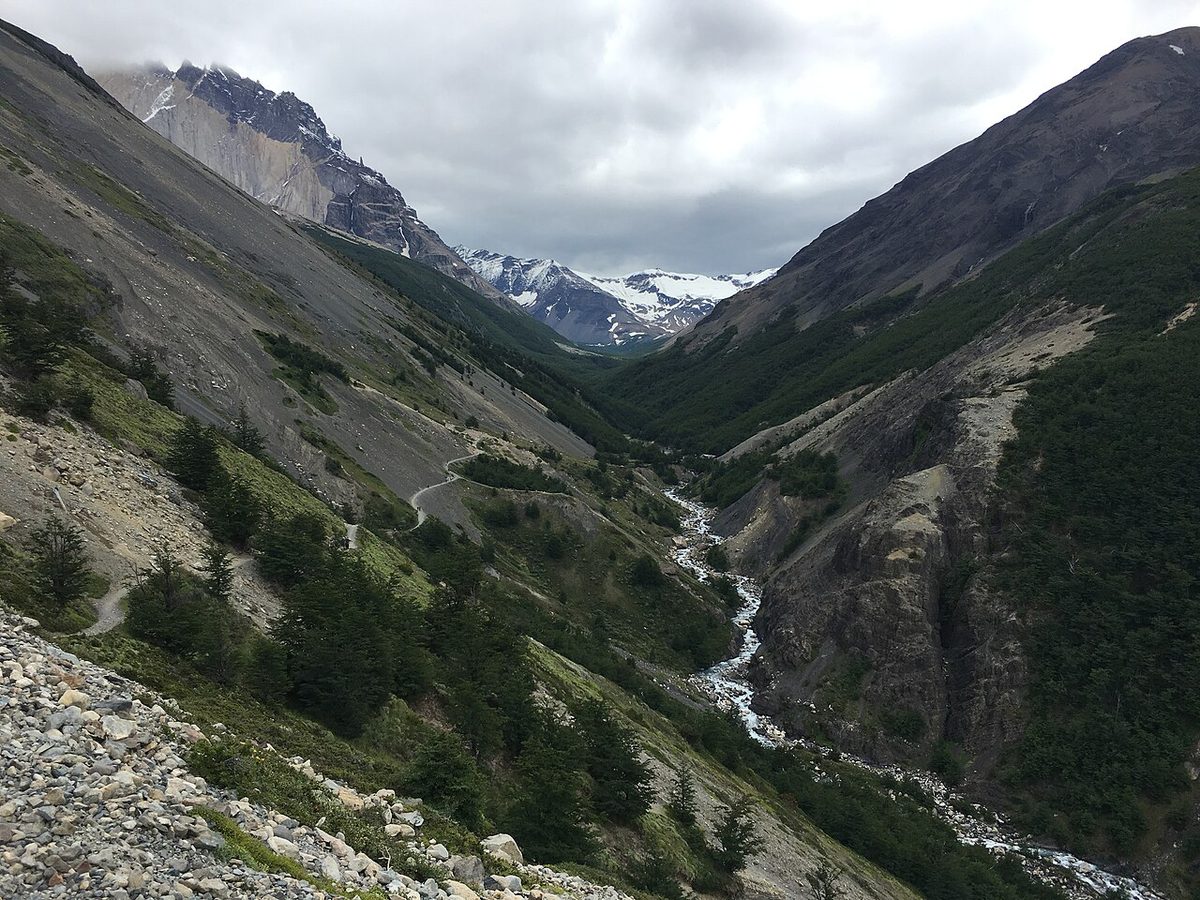
After the bridges, the trail starts climbing in earnest up the side of the Ascencio Valley, skirting the slopes of Almirante Nieto. This is the longest single climb of the day, but it is spread over enough distance that it can lull you into thinking the hike is easier than it is.
Near the top of this section you hit the Paso de los Vientos, the “Windy Pass.” It is a narrow ridge trail with a serious drop-off on one side and, almost guaranteed, a Patagonian wind trying to knock you sideways. This is where trekking poles earn their place. Keep low, keep steady, and do not stop for the perfect canyon photo in the middle of a gust.
After the pass, the trail mercifully flattens and even drops a little down toward the refugio.
Refugio Chileno
Refugio Chileno is the natural rest stop, roughly the halfway mark in feel if not exactly in distance. You can sit on the patio, buy snacks or a hot meal, use the (paid) flush toilets, and crucially refill your water from the potable tap.
I would not linger too long here on the way up. The hard part is still ahead, and it is easy to lose an hour to a comfortable bench. Refill, eat something, and keep moving. Chileno is also the closest place to sleep if you want to be at the towers for sunrise, which I will come back to.
Past Chileno the trail ducks into a lenga forest for around 3 km. This is the gentlest, prettiest part of the day, rolling gently uphill, crossing small streams, sheltered from the wind that has been hammering you on the exposed sections.
It is also a trap. The forest is so pleasant that people pick up the pace and burn energy they are about to need. Enjoy it, but keep a little in the tank. As one hiker put it, the mildness here fooled them right up until the real climb began.
At the end of the forest you reach a clearing with a sign for Mirador Base Las Torres and the old Campamento Torres, a campsite the park used to run that is now closed. This clearing is the staging point for the final push.
The Moraine: The Crux
This is the part everyone warns you about, and the warnings are correct. The final stretch to the mirador is roughly 1 km of climbing over a boulder-field moraine left by the glacier, gaining around 300 m or more over very little horizontal distance. There is no shade and no easy footing.
You will scramble over large rocks and loose scree, often into the wind, with dirt and grit flying at you near the top. It takes most people 45 minutes to an hour. There are several false summits, and each one is a small heartbreak until you learn to ignore them and just watch your feet.
Go slowly here. This is where people get hurt. I have seen the descent caught more hikers out than the ascent: tired legs, loose rock, and gravity are a bad combination, and the path down is genuinely hard on the knees. Poles help enormously.
Mirador Base Las Torres
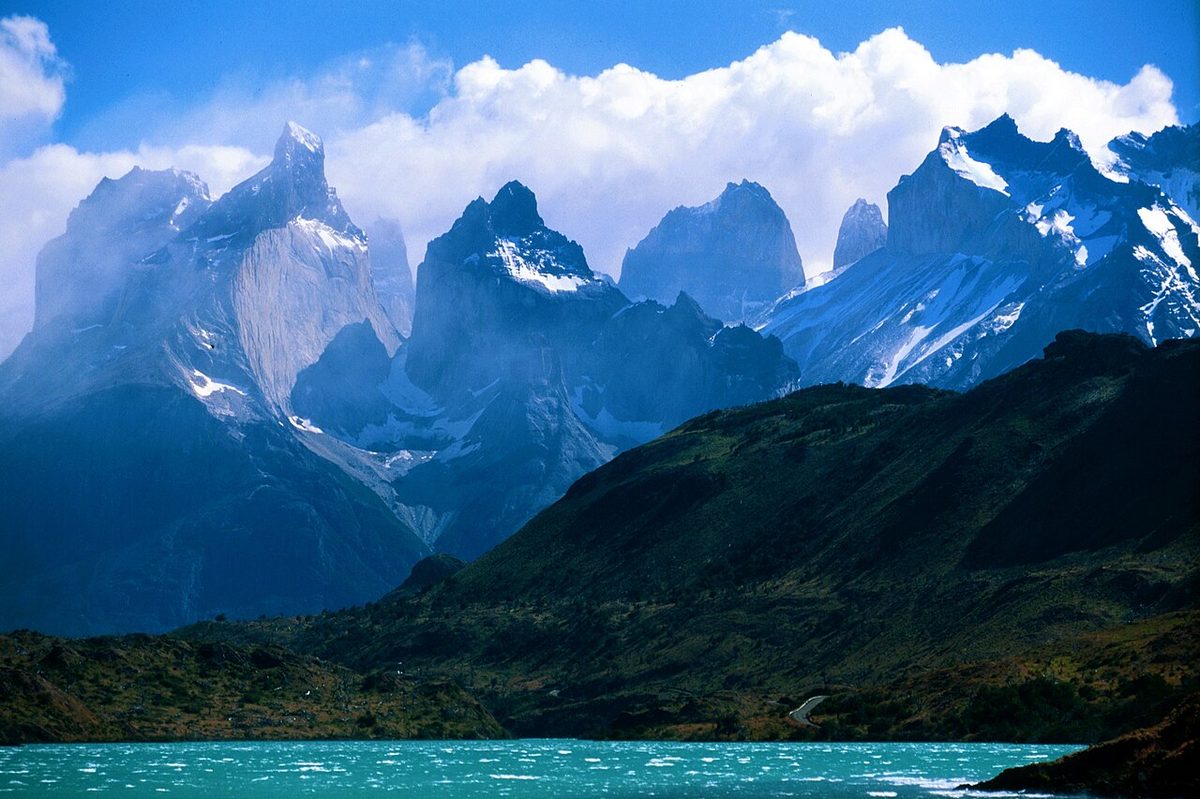
Then it opens up. The three towers stand straight above the turquoise water of Lago Torres, and the whole grinding day suddenly makes sense.
It is exposed and windy at the top, so secure anything that can blow away. People lose hats to that lake every single day. Find a boulder to tuck behind, eat your lunch, and if you have the time, just sit with it. Keep half an eye on the sky too, because this is a good spot to see an Andean condor riding the wind over the towers.
Then you turn around and walk all the way back the same way you came.
How Hard Is the Base Torres Hike, Really?
Hard. Most sources rate it hard or strenuous, and the ones that call it “moderate” usually have a lot of mountain miles in their legs already.
The difficulty is not technical. There is no climbing gear, no exposure that requires mountaineering skill in normal summer conditions. What makes it tough is the combination: the distance, the cumulative ascent, the wind, and that final moraine stacked at the end of a long day when you are already tired.
This is not a beginner hike. If you walk regularly, can handle 7 to 10 hours on your feet over uneven ground, and are comfortable with a steep rocky scramble, you can do it. If your idea of a hike is a flat two-hour loop, this will be a rough introduction, and the honest move is to build up to it or pick a gentler option.
A few candid pointers on fitness and pacing:
Train with the descent in mind, not just the climb. Downhill on the moraine is what wrecks knees.
Steady beats fast. People who sprint the early climb to “beat the crowds” usually pay for it on the moraine.
Do this hike on a day when you have nothing planned afterward. You will be sore.
For a fuller view of how this stacks up against other trails, the best hikes in Torres del Paine guide compares it with easier viewpoint walks and the harder W Trek days.
Weather and the Best Time of Day
Patagonian weather is not a footnote on this hike. It is the main variable that decides whether you see the towers at all.
The single most important thing to understand is that the towers are often hidden by cloud, especially in the afternoon. Your best odds of a clear view are early in the morning, close to sunrise, before the clouds build. If you arrive at the mirador and the towers are socked in, do not panic and do not immediately give up. They frequently clear an hour or two after sunrise, and waiting it out behind a sheltered rock is often rewarded.
This is also the argument for a buffer day. If you only give yourself one shot and it happens to be a grey, blown-out day, that is your trip. If you keep a spare day in the park, a clouded-out attempt becomes “we’ll try again tomorrow.” The Torres del Paine travel guide makes the same case for the park as a whole, and Base Torres is the clearest example of why.
As for season, the comfortable window is roughly October to April. December through February gives you the warmest, longest, clearest days, but also the strongest wind and the biggest crowds on the trail. The shoulder months are quieter and the autumn light in March is gorgeous, but the weather is more of a gamble. For the wider seasonal picture, see why shoulder season often wins.
A sunrise at the towers is one of the great Patagonia experiences, but the logistics are stricter than people expect.
The trail past the upper section is technically closed until after sunrise (around 6:30 AM in summer), for the very sensible reason that scrambling that moraine in the dark is dangerous. So a sunrise hike really only works one way: you sleep at Refugio Chileno (around 4.4 km and 1.5 hours below the mirador), leave around 3 to 3:30 AM, and time your arrival for first light. Hikers staying at Chileno do exactly this.
If you are day-tripping from Puerto Natales on the morning bus, sunrise at the towers is simply not on the table. The earliest you will realistically reach the mirador is around midday. That is still a fantastic hike, just not a sunrise one. There are also guided sunrise and photography tours if catching that light is the whole reason you came.
When You Need a Guide: The Winter Rule
This is the most important rule on the page, and the one most likely to derail a trip if you miss it.
In the winter season, roughly May through September, CONAF requires you to hike to Base Torres with a certified guide. Self-guided trekking to the towers is generally only permitted from around October to April. You cannot just show up in July, buy a ticket, and walk up alone.
The exact dates shift every year with conditions, so you must verify them close to your travel date. As an example of how this moves: in 2025, Reserva Las Torres and CONAF announced that the guide requirement was lifted as of September 1, allowing self-guided access again “provided that visitors remain on authorized trails.” At the same time, they extended the mandatory use of trekking poles and crampons (microspikes) until further notice, with rangers enforcing it at the park entrances. A separate CONAF notice for the 2026 winter listed an authorized guide as mandatory across a window running into late August. Same rule, different dates each year.
So the takeaway is simple:
Winter (about May–September): plan for a certified guide. Budget for it and book it.
Microspikes/crampons and poles may be mandatory in the cold months even when a guide is not.
Even with a guide, the moraine can be closed for snow or avalanche risk, and the towers may stay hidden. If seeing them is your whole goal, winter is the riskiest time.
Always confirm the current rule on CONAF, Pases Parques, or Reserva Las Torres before you book anything.
If a winter visit is what you are planning, read the dedicated winter rules for Torres del Paine guide, which goes deeper on guides, gear, and what is actually open.
In the main summer season, by contrast, you do not need a guide for Base Torres. The trail is well marked and heavily used, and prepared independent hikers do it every day. A guide is still a perfectly good choice if you want the logistics handled, the wildlife pointed out, or simply the reassurance.
Getting There and When to Start
Whatever else you do, start early. The trail past Campamento Torres closes to upward hikers in the afternoon (commonly around 3 PM, with rangers clearing the mirador by roughly 4 PM) specifically to stop people descending that moraine in the dark. A late start can mean being turned around before you reach the view.
If you are coming from Puerto Natales for the day:
Take the earliest bus to Laguna Amarga (around 6:45 to 7:15 AM; the ride is roughly 1.5 to 2 hours; round-trip tickets are around CLP 10,000–15,000). Buses sell out, so buy ahead and grab a return ticket too.
At Laguna Amarga, show your ticket, then take the shuttle the last 7 km to the Welcome Center (around CLP 4,000–4,500, cash). Do not try to walk this stretch; it is a dusty road with nothing to see.
There is no cell service in the park, so screenshot your ticket QR code before you go.
If you are driving, park at Laguna Amarga to show your pass, then continue to the Welcome Center lot. Some of the road is unpaved but fine for a normal car taken slowly; just check your rental contract allows gravel roads. For the full transport picture, see how to get to Torres del Paine, and for buying your entry, Torres del Paine tickets.
A guided full-day tour from Puerto Natales typically leaves around 6:30 AM and returns around 8:30 PM. That is a 12-to-14-hour door-to-door day for roughly 8 hours of hiking, which tells you something about the distances involved out here.
Where you sleep the night before shapes the whole day.
Day hike from Puerto Natales. The budget-friendly, no-reservations-needed option. You catch the early bus, hike the full thing, and bus back exhausted. It works, and plenty of people do it, but it is a long day and it locks you out of sunrise.
Stay inside the park (Hotel Las Torres or nearby). Sleeping near the trailhead means an earlier, cleaner start without the two-hour bus each way. It is more expensive and books out, but for a hike this weather-dependent, being on the trail before the day-trippers arrive is worth a lot.
Sleep at Refugio Chileno. This is the move if sunrise is your goal. Chileno is the closest accommodation to the towers, around 1.5 hours below the mirador, and it lets you make the pre-dawn push for first light. Beds and campsites there are booked through the operator and sell out fast in peak season, so plan ahead. Reserva Las Torres (Fantástico Sur) runs this sector.
This is a four-season-in-one-day hike. The valley can be warm and still; the ridge and the mirador can be cold and savage. Pack for both.
Windproof, waterproof shell. Non-negotiable. The wind is the defining feature of this trail.
Warm mid-layer (fleece) plus a puffer for the mirador, where you will be sitting still in the wind.
Base layers you can hike in and a spare in case you sweat through.
Broken-in hiking boots or trail shoes with good grip. The moraine punishes worn-out soles and stiff, brand-new boots equally.
Trekking poles. Not mandatory, but a genuine help on the moraine going up and a near-essential going down. Your knees will thank you.
Hat and gloves. A warm beanie for the top; gloves if you are going up early. A sun cap is useful lower down but can blow off at the mirador.
Sunglasses and sunscreen. Big sections are fully exposed and you can burn without noticing.
Daypack with a rain cover or liner, plus a dry bag for electronics.
Headlamp if you are starting before dawn or risk finishing late.
Snacks and a packed lunch. More than you think you need; people routinely run out.
Offline maps, a power bank, ID, and your ticket QR.
In winter, add microspikes or crampons, which are frequently mandatory. For a complete, season-by-season kit, the Patagonia hiking, camping, gear and safety guide is the one to read before you finalize your bag.
Water
Carry enough to get you started, because the first stretch from the trailhead runs roughly two hours with no reliable water. The key refill point is Refugio Chileno, which has a potable tap. The glacial streams in the Ascencio Valley are generally clean and drinkable, but if you want to be safe, run them through a filter. I would carry at least 1.5 to 2 litres and top up at Chileno both on the way up and on the way down.
Safety
A few things that turn a hard-but-happy day into a bad one, and how to avoid them.
There is no cell signal, and CONAF reminds visitors that mountain rescue can take hours. If you are hiking solo, tell someone your route and expected return.
Turning around is a success. The towers are not guaranteed. Pushing onto the moraine in dangerous wind or low visibility to chase a view you may not even get is how accidents happen. A safe retreat is the right call more often than people admit.
Respect the cutoff times. Rangers enforce the afternoon closure of the upper trail to keep people off the moraine in the dark. Build your day around starting early enough to clear it.
Slow down on the descent. The boulder field causes most of the injuries on this hike. Tired legs and loose rock do not forgive rushing.
Stay on the marked trail, pack out all your trash (there are no bins), and do not light fires.
The wider visiting Chile’s most famous national park and the gear and safety guide both go deeper on Patagonian weather judgment, which is the real skill this hike asks of you.
Doing Base Torres as Part of the W
If you are hiking the W Trek or the O Circuit, here is the good news: Base Torres is already built into your route, usually tackled from the Central or Chileno sector, often early on a dedicated morning. You do not need to book a separate day hike on top of your trek.
The trade-off is that you will likely be hitting the towers on a fixed schedule rather than picking the clearest day, which is exactly why so many trekkers aim for a Chileno sunrise. If you are weighing the multi-day trek against a string of day hikes, the Torres del Paine W Trek and O Circuit guide lays out both approaches, and the W is where Base Torres fits most naturally into a longer adventure.
It is an out-and-back of around 18 to 22 km, depending on where you start and whose GPS you trust. Most people take roughly 7 to 10 hours of hiking, with fast hikers finishing in 5 to 7 and average hikers needing 8 to 10. A guided day tour from Puerto Natales runs about 12 to 14 hours door to door.
How difficult is the Base Torres hike? Can a beginner do it?
It is rated hard. The distance and around 750 to 900 m of ascent are demanding, and the final kilometre of steep, loose boulder-field moraine is the real challenge. It is not a beginner hike. If you are reasonably fit, walk regularly, and can handle a long day on uneven ground, you can do it with preparation.
Do you need a guide to hike to the base of Torres del Paine?
Not in the main summer season, roughly October to April, when prepared independent hikers do it daily on a well-marked trail. But in winter, about May through September, CONAF requires a certified guide for the Base Torres trail. Those dates shift yearly, so always confirm with CONAF or Pases Parques before booking.
What time should you start the Base Torres hike?
As early as possible. The upper trail closes to upward hikers in the afternoon (commonly around 3 PM, with the mirador cleared by roughly 4 PM) to keep people off the moraine in the dark. Day-trippers should take the earliest bus from Puerto Natales, around 6:45 to 7:15 AM, to leave enough time.
Can you see the towers at sunrise?
Yes, and it is spectacular, but the logistics are strict. The trail is closed until after sunrise (around 6:30 AM in summer), so the only realistic way is to sleep at Refugio Chileno, about 1.5 hours below the mirador, and leave around 3 to 3:30 AM. A day-tripper bussing in from Puerto Natales cannot reach the towers before roughly midday.
Is the Base Torres hike worth it?
For most hikers, absolutely. The view of the three towers above the glacial lake is one of the defining images of Patagonia, and the effort makes the payoff land harder. Just go in with realistic expectations: the day is long, the moraine is brutal, and clouds may hide the towers, so a buffer day and an early start matter.
Where can you refill water on the trail?
The main refill point is Refugio Chileno, which has a potable tap. The first stretch from the trailhead runs about two hours with no reliable water, so start with enough. The glacial streams in the Ascencio Valley are generally drinkable, though a filter is the safe choice. Top up at Chileno on the way up and down.
Is Base Torres included in the W Trek?
Yes. If you hike the W Trek or the O Circuit, the Base Torres viewpoint is part of the route, usually approached from the Central or Chileno sector. You do not need to book a separate day hike. Many trekkers aim for a Chileno-based sunrise to get the best chance of clear towers.
Final Thoughts
Base Torres is the hike I would still tell almost everyone to do, with one condition: respect it. Respect the distance, respect the moraine, and above all respect the weather, because the towers owe you nothing and they will happily stay behind cloud all afternoon.
Give yourself an early start and, if you can, a spare day. Carry layers you will not need in the valley and will be grateful for at the top. Take the descent slowly. And if the clouds win that day, sit with the lake anyway, have your lunch, and come back tomorrow. The view, when it finally clears, is worth every bit of the climb.
Images are sourced from Wikimedia Commons under their respective licenses (CC BY, CC BY-SA, or public domain). Each photo links to its source page and author on Wikimedia Commons.