10 Day Patagonia Itinerary: The Classic Southern Route
A realistic 10 day Patagonia itinerary: El Calafate, El Chalten, Puerto Natales and Torres del Paine, day by day, with buses, border tips and lodging.
By Patagonia Tourism Guide · First published 7 Jul 2026 · Updated 1 Aug 2026
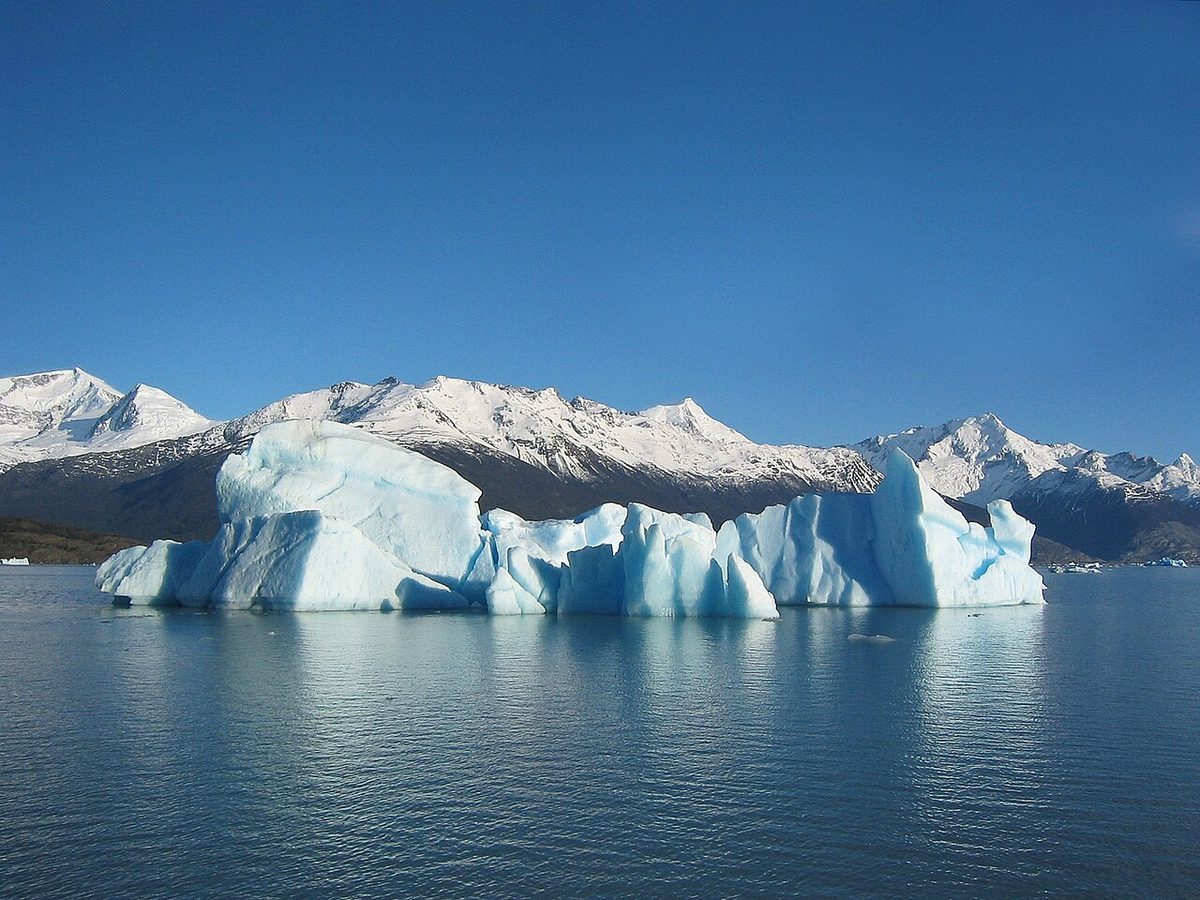
0 — 2 km Fig. 1 · Perito Moreno Glacier near El Calafate, the first major stop on a 10 day Patagonia itinerary · Photo: IlyaHaykinson / CC BY 2.0 via Wikimedia Commons
The first time I tried to plan 10 days in Patagonia, I drew a line connecting six famous places and felt very clever. Then I looked at the bus schedules. The clever line collapsed into a panic, and I rebuilt the whole thing around four places instead of six. That rebuilt version is the trip I would actually send a friend on.
A 10 day Patagonia itinerary is just long enough to do the classic southern route well, and just short enough that one bad decision costs you a highlight. The best version runs El Calafate (for Perito Moreno Glacier) to El Chalten (for Fitz Roy) to Puerto Natales to Torres del Paine, crossing the Argentina–Chile border once. You can hike it as day trips or build it around a compressed W Trek. It works. It does not forgive padding.
This guide is for the traveler who has roughly 10 days, wants the genuine icons of southern Patagonia, and would rather hear the truth about transfer times than a fantasy about seeing everything. If you have not locked your overall route yet, start with the Patagonia itinerary planner, which compares 7-day through one-month trips. If your dates are still soft, read choosing which month to travel before you commit, because the season changes which version of this itinerary is even possible.
I have hedged every time and price below, and you should too. Bus times shift, border queues vary, and park rules change. Treat the numbers as planning estimates and confirm the current details close to travel.
Quick Answer: The Best 10 Day Patagonia Itinerary
The best 10 day Patagonia itinerary for most first-time travelers is the classic southern loop: two days in El Calafate for Perito Moreno Glacier, three to four in El Chalten for Fitz Roy and day hikes, then a cross-border bus to Puerto Natales and three days in Torres del Paine. Hike it as day trips, or swap in a shorter W Trek.
Who this is for: independent travelers comfortable with buses, hikers who want big payoffs without a rigid 1-to-10 checklist, and couples or friends who can protect their days against Patagonia’s weather. If you only have one week, do not try to compress this; choose one region instead and use the 7 day Patagonia itinerary. If you have a little more room, the 2 week Patagonia itinerary is genuinely more relaxed and lets the W Trek breathe.
At a Glance: 10 Days in Patagonia, Day by Day
Use this table first. It is the fastest way to sanity-check the route before you book a single thing. “Overnight” is where you actually sleep, which matters more than where you spend the afternoon.
Day
Overnight
Main move
Highlight
1
El Calafate
Arrive FTE airport
Soft landing, Lago Argentino
2
El Calafate
Day trip (~1.5 hrs each way)
Perito Moreno Glacier
3
El Chalten
Bus from El Calafate (~3 hrs)
Arrival hike, first Fitz Roy view
4
El Chalten
Day hike
Laguna de los Tres (Fitz Roy)
5
El Chalten
Day hike or buffer
Laguna Torre or weather catch-up
6
Puerto Natales
Cross-border bus (~5–7 hrs)
Border crossing, settle in Chile
7
Torres del Paine area
Transfer into park (~2 hrs)
Base Torres or scenic day
8
Torres del Paine area
Day hike
French Valley or Grey Glacier
9
Puerto Natales
Park to town, or buffer
Lighter day, recover, reposition
10
—
Depart (PNT, PUQ, or back to FTE)
Fly home
Swipe to see all columns
Table 1
Two structural notes before we go deeper. First, El Chalten gets three nights here on purpose; it is the most weather-dependent stop, and giving it one hiking day is how people miss Fitz Roy entirely. Second, the cross-border day (Day 6) is not scenic filler. It is the spine of the trip, and the whole itinerary either holds together or falls apart on that transfer.
Day 1: Arrive in El Calafate
Fly into El Calafate (airport code FTE), the practical gateway for southern Argentine Patagonia and the town with the region’s most useful airport connections. Visit Argentina describes El Calafate as the launch point for Los Glaciares National Park, and that is exactly how you should treat it: a base, not a destination to conquer.
Keep this day deliberately easy, especially if you came off a long international connection through Buenos Aires or Santiago. Walk the lakefront along Lago Argentino, sort out cash (you will want Argentine pesos for small things), confirm your glacier transport for tomorrow, and buy any trail snacks you are missing. The Glaciarium ice museum is a decent low-effort afternoon if you arrive early and want context before you see the real thing.
Transport: Arrive FTE; taxi or shuttle into town (around 20 to 25 minutes). Overnight: El Calafate. Hostels cluster near the bus terminal; lakefront hotels cost more but reward you with the view. For a full breakdown of bases across the region, see Where to Stay in Patagonia.
Day 2: Perito Moreno Glacier
This is your first big Patagonia payoff, and it is one of the most reliable in the whole region because the access is so straightforward. Visit Argentina notes that Perito Moreno Glacier sits about 80 kilometers from El Calafate by Ruta Provincial 11, roughly an hour and a half each way by road. You do not need perfect weather. Even under flat grey skies, a 70-meter wall of ice that cracks and calves into the channel below is hard to be disappointed by.
Spend the day on the boardwalks, which are extensive and let you watch the glacier face from several angles. If your budget and the season allow, add a boat approach or a mini-trekking tour that puts crampons on your feet and walks you onto the ice. Those tours sell out in peak summer, so book ahead rather than hoping. For the full menu of glacier options, walkway logistics, and tour comparisons, use the El Calafate and Perito Moreno Glacier guide.
Back in town by evening, eat well and repack, because tomorrow is a travel day with an early-ish start.
Transport: Round-trip to the glacier by tour, shuttle, or rental car (around 1.5 hrs each way). Overnight: El Calafate again.
Today you move north to El Chalten, the small town that Visit Argentina calls the trekking capital of Argentina, reached mainly from El Calafate around 215 kilometers away by road. The bus takes around three hours, there is no border crossing on this leg, and several companies run it daily in season. Book a day or two ahead in peak summer; the popular morning departures fill up.
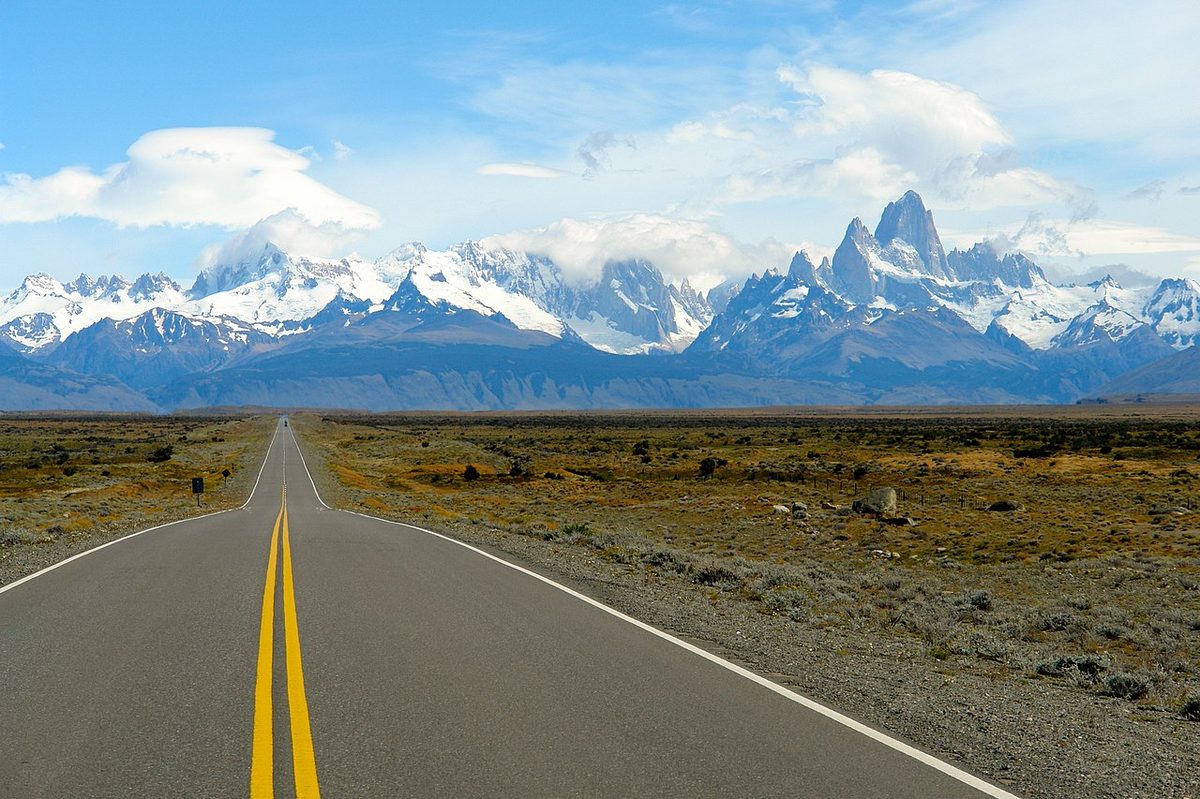
Here is the move that separates a good El Chalten visit from a frustrated one: if the sky is clear when you arrive, do not save every view for “later.” Later is a forecast, not a promise. Drop your bags, lace up, and do a short walk the same afternoon. Mirador de los Condores is well under an hour round trip and gives you a first orienting view over town and out toward the range. The waterfall at Chorrillo del Salto is another easy leg-stretcher. If Fitz Roy is out and glowing, you will be very glad you went.
Transport: Bus El Calafate to El Chalten (~3 hrs, no border). Overnight: El Chalten. Mid-range options in town can be underwhelming and book out; reserve early. Trailheads start right in town, which is the whole charm of basing here.
Day 4: Laguna de los Tres and Fitz Roy
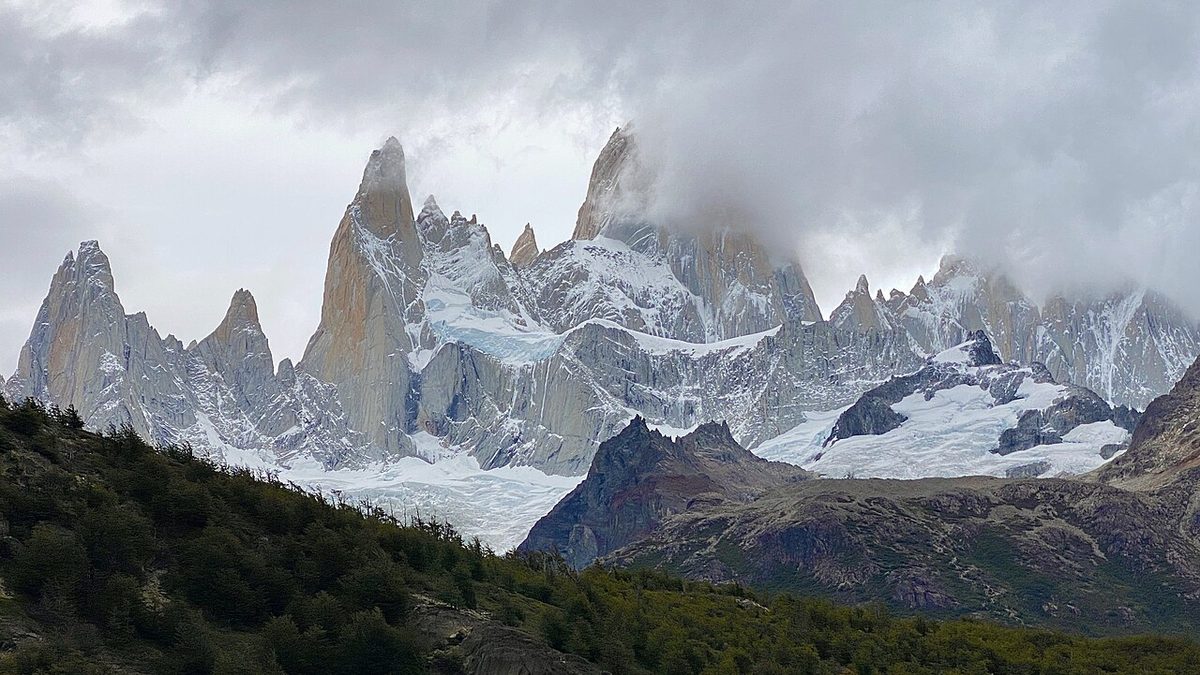
This is the hike people fly across the world for. The trail to Laguna de los Tres delivers the head-on view of Mount Fitz Roy, and it is roughly a 20-kilometer round trip from El Chalten with a steep, lung-burning final climb up to the lake. Budget around 8 to 10 hours depending on your pace and how long you linger at the top. It is strenuous but non-technical, and the path is clear and well traveled, so you do not need a guide.
Use your best-looking weather day for this hike, not necessarily Day 4. That is the single most important sentence in this whole itinerary. If the forecast says Day 4 is the wet, blown-out day and Day 5 is clear, swap them without hesitation. Every hiker in El Chalten is reading the same forecast and quietly rearranging; you should join them. Pack layers, real rain gear, water, and more food than you think you need. The weather can flip from sun to sideways sleet in an afternoon, even in January.
Because the trail finishes right back in town, the reward is easy: stroll San Martin, find a burger or a steak, and watch the other hikers limping in off the mountain with the same dazed grin you are wearing.
Transport: None; walk from town. Overnight: El Chalten.
Day 5: Laguna Torre or Buffer Day
This is the day that protects the itinerary, and how you use it depends entirely on how Day 4 went.
If you nailed Fitz Roy and your legs are willing, hike to Laguna Torre, a flatter and friendlier trail of around 18 to 20 kilometers round trip that ends at a glacial lake with icebergs and, on a clear day, the spire of Cerro Torre behind. It is genuinely beautiful and noticeably easier than Laguna de los Tres, which makes it a smart second hike rather than a second gut-buster.
If the weather robbed you yesterday, this is your second chance at Fitz Roy. That is exactly why El Chalten gets the extra night. If both days somehow turn ugly, take a shorter viewpoint walk, rest, and accept that Patagonia does not read itineraries. Either way, pack tonight, because tomorrow is the long cross-border haul and you want a clean, early start.
Transport: None; walk from town. Overnight: El Chalten (final night).
Treat today as a logistics day, because it is one. Most travelers route El Chalten back to El Calafate and then take the direct international bus to Puerto Natales in Chile; some seasonal direct El Chalten to Puerto Natales services exist in peak summer, but the El Calafate connection is the dependable backbone. Either way, you are giving up most of a day to the road, and that is normal.
The El Calafate to Puerto Natales bus runs around five to seven hours depending on the border, with buses typically leaving around 8am and arriving in Puerto Natales in the early-to-mid afternoon. Reliable operators include Bus Sur, Marga (Taqsa), and Turismo Zaahj, with several departures daily in summer and far fewer in winter. Book ahead in January.
Here is what actually happens at the border, because the blogs tend to wave at it. You cross at two posts a short drive apart: the Argentine exit post at Cancha Carrera, then the Chilean entry post at Cerro Castillo. Chilean entry is the slower of the two. Crucially, you cannot bring fresh produce (fruit, meat, dairy, seeds) into Chile, and Chile now asks travelers to complete a SAG affidavit declaring what you are carrying, ideally filed in the days before you travel. Eat or bin your apples before the border, keep your passport and declaration handy, and hold onto the tourist card you are given on entry, because you will need to surrender it when you leave Chile. The official Chile Travel Puerto Natales page is a good current reference for the gateway town.
A practical truth: the cross-border bus arrives too late to connect onward into Torres del Paine the same day. That is why you sleep in Puerto Natales tonight. Use the evening to do laundry, buy trail food, confirm tomorrow’s park transport, and eat a proper Chilean meal. If you want the deeper mechanics of moving around the region, including flights and one-way logistics, read How to Get to and Around Patagonia. For the border itself in road-trip terms, the Patagonia road trip and border crossings guide covers the paperwork.
Transport: Bus (often via El Calafate) to Puerto Natales (~5–7 hrs incl. border). Overnight: Puerto Natales.
Day 7: Into Torres del Paine
Now you reach the headline act. Torres del Paine is the centerpiece of Chilean Patagonia, and from Puerto Natales it is around a two-hour bus or transfer to the park, with the main morning departures leaving early. How you spend today depends on a decision you should make before you arrive: do you sleep inside the park or commute from Puerto Natales?
Staying inside or right at the edge of the park costs more but saves you a roughly 90-minute drive each way, which is a three-hour daily tax on your hiking time. If you can afford an in-park hotel or an EcoCamp-style stay, it transforms the next two days. If you are watching the budget, Puerto Natales is cheaper and more flexible, and plenty of people do excellent day trips from there; you just accept the commute. The Torres del Paine planning guide breaks down the park sectors, viewpoints, and where each base makes sense.
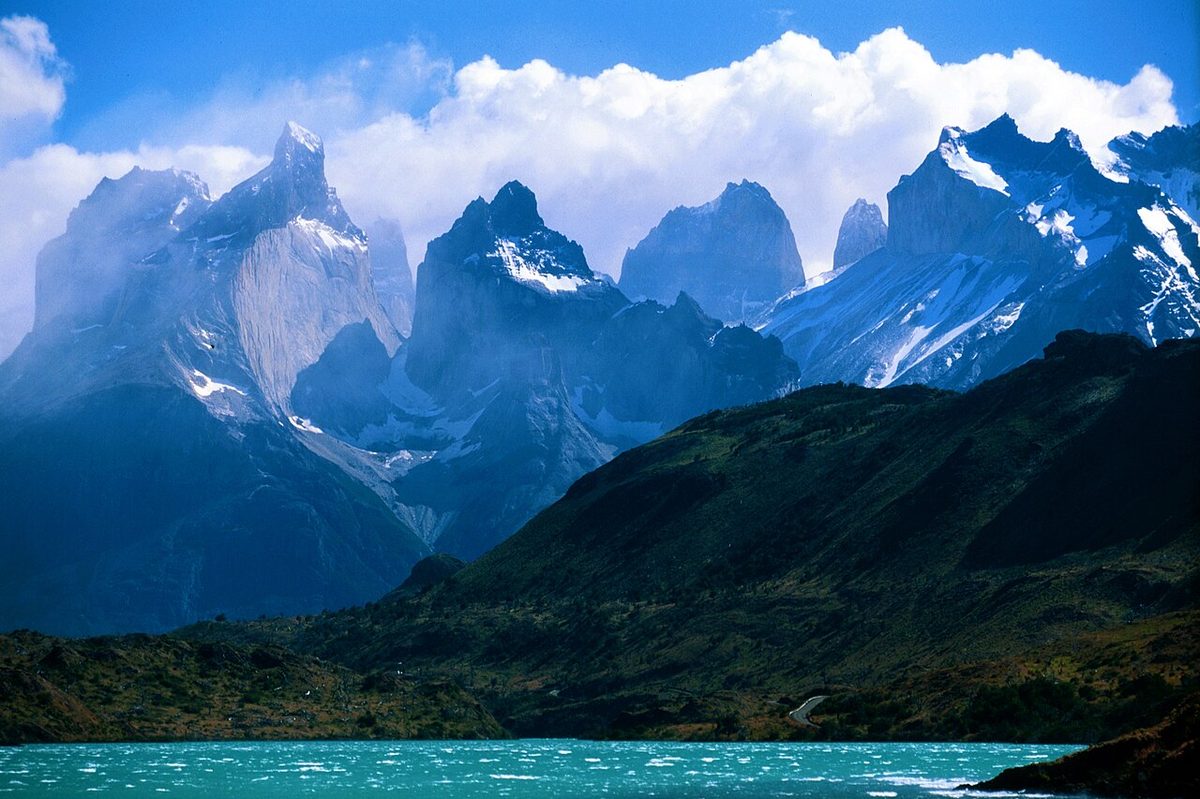
If you transferred in early and conditions are good, get a hike in today. The signature day hike is the climb to the Base of the Towers (Base Torres), a demanding round trip of roughly 18 to 20 kilometers and 8 to 9 hours that ends at the glacial lake beneath the three granite towers. If you would rather ease in, do a shorter scenic route, take in Salto Grande and the Cuernos viewpoints, or build the day around a boat trip. Save your strongest legs and the best forecast for the marquee hike.
Transport: Bus or transfer Puerto Natales to the park (~2 hrs). Overnight: Inside/near Torres del Paine (preferred) or back in Puerto Natales.
Your second full Torres del Paine day is where you get to choose your own adventure based on weather, energy, and what moved you most.
French Valley (Valle del Frances) is the dramatic central arm of the park’s famous W, a basin ringed by hanging glaciers and spires. Reaching it as a day hike usually means an early bus and a catamaran across Lago Pehoe to Refugio Paine Grande, then hiking in toward the French lookout; it is a long, rewarding day. Grey Glacier is the other classic, a vast river of ice on the park’s western side that you can approach by trail or by boat. Either one is a worthy finale. If your legs are fried from yesterday, take the boat-and-viewpoint version rather than forcing a third big hiking day; this is supposed to be a trip, not a sufferfest.
Whatever you choose, expect weather. The most honest thing other hikers will tell you is that Torres del Paine can hand you sun, rain, and snow in a single afternoon, and the wind can genuinely knock you off balance in exposed sections. Lean into it. The harsh days are often the ones you remember.
Transport: Park buses, catamaran, or boat depending on your hike. Overnight: Inside/near the park, or Puerto Natales.
Day 9: Buffer, Last Hike, or Reposition
Day 9 is your release valve, and you should decide its job based on your exit airport (more on that below).
If you have been staying inside the park, you might fit in one more lighter outing in the morning, such as a Cuernos or Laguna viewpoint, before heading back toward Puerto Natales. If the weather stole a day earlier in the park, this is your make-up day. And if you are flying out of an airport that needs a head start, treat today as a positioning day and do not gamble your departure on a tight connection. A calm afternoon in Puerto Natales, walking the waterfront with Torres del Paine hazy on the horizon, is a perfectly good way to end the hiking.
Transport: Park to Puerto Natales (~2 hrs), or a local day trip. Overnight: Puerto Natales (or near your departure airport).
Day 10: Departure
How you leave depends on where you are headed next, and this is worth planning early rather than discovering at the end:
Flying within Chile or onward via Santiago: Puerto Natales has its own airport (PNT) with seasonal flights, and Punta Arenas (PUQ), around three hours south, has far more frequent connections year-round.
Returning to Argentina or flying onward via Buenos Aires: you will usually backtrack to El Calafate (FTE) for the flight, which means building the return bus into your plan rather than assuming it.
Whatever your exit, do not book a same-day international connection off the back of a long Patagonia transfer unless you have a generous buffer and a high tolerance for risk. Patagonia’s transport is reliable enough, but it is not the place to cut a connection to 45 minutes.
The W Trek Variant: 10 Days for Trekkers
If the W Trek is the reason you are coming, you should build the trip around it first and let everything else flex. The W is the classic multi-day route through Torres del Paine, typically four nights and five days, and Chile Travel’s W Trek guide is clear that you must have refugio or campsite reservations before you arrive. Those beds are scarce, bookings open months ahead (often around July for the following season), and capacity is split between two operators, Vertice and Fantastico Sur (Las Torres). That one fact reshapes the whole itinerary.
A realistic 10-day, W-Trek-first version looks like this:
Day 1: Arrive Puerto Natales (via Punta Arenas or a Santiago connection).
Day 2: Prep day. Confirm bookings, rent or check gear, buy food, file your SAG declaration if you came overland.
Days 3 to 7: W Trek (four nights on the trail).
Day 8: Return to Puerto Natales and recover.
Day 9: Transfer toward El Calafate, or take a lighter scenic day.
Day 10: Depart, or continue to Perito Moreno if your flights genuinely allow it.
Be honest with yourself about what this is: a Torres del Paine trekking trip with a possible glacier add-on, not a relaxed Argentina-plus-Chile tour. You will likely have to sacrifice most of the El Calafate and El Chalten time to make the trek fit in 10 days. If you want both the W Trek and Fitz Roy without rushing, that is the strongest argument for adding days; the 2 week Patagonia itinerary handles it far more comfortably. For trek-specific planning, refuge logistics, and the O Circuit comparison, use the Torres del Paine W Trek and O Circuit guide. Before you treat any route as open, especially in shoulder season, check CONAF for current park notices and seasonal guide requirements.
If hiking is the entire point of your trip rather than just part of it, the sample trekking itineraries sequences El Chalten and Torres del Paine around trail time specifically.
The classic route runs Argentina to Chile, but the reverse works just as well, and sometimes better. The choice should be driven by two things: your flights and your Torres del Paine bookings, not by gut preference.
Reverse direction (Chile first): Fly into Punta Arenas or Puerto Natales, do Torres del Paine first, then take the bus to El Calafate and finish with Perito Moreno and El Chalten. This is smart if your cheapest or most convenient flights land in Chile, or if your park or W Trek dates are fixed and everything else has to bend around them. Practically, the bus from Puerto Natales gets you into El Calafate in the early-to-mid afternoon, so if you are continuing to El Chalten you will overnight in El Calafate and catch the onward bus the next morning. One nice side effect of going Argentina-first, though, is that El Chalten’s day hikes act as a warm-up before the bigger Torres del Paine days, which your knees may appreciate.
Skip a stop to go deeper: If 10 days feels too rushed across four bases, you have permission to drop one. The most common trims are cutting El Calafate (skip the glacier, fly into El Chalten’s orbit faster) to free up W Trek time, or cutting Torres del Paine entirely and doing a relaxed Argentina-only loop of El Calafate and El Chalten with no border crossing at all. An Argentina-only version is genuinely underrated; you lose Torres del Paine but gain simplicity, lower cost, and more weather buffer. Some travelers feel they have failed if they do not cross into Chile. You have not. You have chosen a route that fits your time.
What not to add: Do not bolt Bariloche, Ushuaia, or Peninsula Valdes onto a 10-day southern route. They are wonderful, and they belong to a longer trip. Trying to include them here turns your itinerary into a sequence of airports. Save them, or read the breakdown of how many days to spend where for how they fit into a 3-week or one-month plan.
Transport and Border Logistics in Brief
The whole itinerary rests on four transfers. Here is the honest summary, all times approximate and worth confirming close to travel:
El Calafate to El Chalten: around 3 hours by bus, no border, several daily in season. The easy one.
El Calafate to Puerto Natales: around 5 to 7 hours by bus including the Cancha Carrera and Cerro Castillo border posts. Buses leave around 8am, arrive early-to-mid afternoon. Operators include Bus Sur, Marga (Taqsa), and Turismo Zaahj.
El Chalten to Puerto Natales: seasonal direct buses exist in peak summer; otherwise route via El Calafate and plan a similar long day.
Puerto Natales to Torres del Paine (Laguna Amarga): around 2 hours by bus or transfer, with the main departures in the early morning.
Border essentials, because they trip people up: complete Chile’s SAG declaration before you cross, carry no fresh produce into Chile, keep your passport and the entry tourist card accessible, and budget extra time for the Chilean entry post, which is slower than the Argentine exit. You can do this entire route by public bus; a rental car is only worth it if you specifically want scenic flexibility inside Torres del Paine, and even then cross-border permits and one-way fees complicate things. For the deeper version, see How to Get to and Around Patagonia.
Where to Stay by Base
You will sleep in four places on this trip. Each rewards a slightly different strategy, and booking beds for peak season covers the full range, but here is the short version:
El Calafate (2 nights): the biggest town of the four, with the widest choice. Hostels near the bus terminal are budget-friendly; lakefront hotels cost more for the Lago Argentino view. Two nights is enough.
El Chalten (3 nights): small, walkable, and trail-side, which is the whole point, because you can walk from your door to the trailheads. Mid-range rooms can be mediocre and sell out early, so book ahead. This is the base I protect most.
Puerto Natales (1 to 2 nights): the Torres del Paine gateway, with hostels and a few lovely lake-view hotels. It is functional rather than charming, but it is where you handle laundry, food, and park logistics.
Torres del Paine (in-park, optional): staying inside or at the park edge saves the daily commute and buys you hiking time. It is the single biggest comfort upgrade on the trip, and the single biggest cost.
If comfort and fewer moving parts matter more than ticking every hike, the Patagonia honeymoon itinerary shows how to run a similar route around fewer, nicer bases.
What to Book, and When
Patagonia punishes people who leave the scarce things to the last minute. Book in this rough order:
International and domestic flights (into FTE, PUQ, or PNT) as soon as your dates are firm.
W Trek refugios and campsites, or in-park Torres del Paine lodging, if you want either. These are the scarcest items on the whole trip and can sell out months ahead.
High-demand small-town lodging in El Chalten and El Calafate, especially for December through February.
Signature tours such as Perito Moreno mini-trekking or a glacier boat trip, which fill up in peak season.
Cross-border buses (El Calafate to Puerto Natales) and park transport, a few days to weeks ahead in summer.
Park tickets, the SAG declaration, and any official passes close to travel, following current rules.
For a realistic sense of what all of this costs, from buses to in-park lodging to glacier tours, the guide to what a Patagonia trip costs is the place to set expectations before you commit.
Weather Buffers: The Part Everyone Skips
Patagonia weather is not a footnote; it is the structure of the trip. The reason this 10-day plan gives El Chalten three nights and keeps Day 5 and Day 9 flexible is that the famous views, Fitz Roy and the Towers, both depend on clear-ish weather, and you cannot order it in advance.
The discipline is simple to say and hard to follow: hike on your best forecast day, not on the day your itinerary printed. If Day 4 looks blown out and Day 5 looks clear, swap them. If the park hands you a wall of cloud on Day 7, your Day 9 buffer exists for exactly that reason. Build the trip so that no single highlight rests on a single forecast, and you will dramatically improve your odds of standing in front of the mountain when the cloud finally lifts. That is the whole game. The traveler who plans rigidly and refuses to adapt is the one who flies home with photos of grey.
Frequently Asked Questions
Is 10 days enough for Patagonia?
Ten days is enough for a tight, rewarding southern Patagonia trip covering El Calafate, El Chalten, Puerto Natales, and Torres del Paine, the route most first-time travelers actually want. It is not enough to add Bariloche, Ushuaia, or Peninsula Valdes without rushing. If you want a more relaxed pace, 12 to 14 days makes a noticeable difference.
Can you do El Calafate, El Chalten, and Torres del Paine in 10 days?
Yes, and it is the classic route. A workable split is two nights in El Calafate, three in El Chalten, then a cross-border bus to Puerto Natales and three days in Torres del Paine. It is well connected by public bus. The main constraint is the single long border-crossing day and Patagonia’s weather, so build in buffer days.
How do you get from El Calafate to Torres del Paine?
Take a cross-border bus from El Calafate to Puerto Natales, around five to seven hours including the Cancha Carrera and Cerro Castillo border posts, then a separate bus or transfer of roughly two hours from Puerto Natales into the park. The cross-border bus arrives too late to connect onward the same day, so plan to overnight in Puerto Natales.
Should I start in Argentina or Chile?
Both directions work. Let your flights and your Torres del Paine bookings decide rather than gut feeling. Starting in Argentina lets El Chalten’s day hikes warm you up before the bigger Torres del Paine days. Starting in Chile makes sense if your cheap flights land in Punta Arenas or your W Trek dates are fixed and everything else must flex around them.
Do I need to do the W Trek, or are day hikes enough?
Day hikes are plenty for most travelers, and they keep the itinerary flexible against weather. You can reach the Base of the Towers, French Valley, and Grey Glacier as day trips. Do the W Trek only if multi-day trekking is the actual goal, because it requires fixed refugio bookings made months ahead and eats most of your El Calafate and El Chalten time in a 10-day trip.
What is the best time of year for a 10 day Patagonia trip?
Late November through March is the window, with December to February offering the longest days and fullest services but the biggest crowds. March is a sweet spot for fewer people, autumn color, and still-good conditions. Whatever month you choose, expect wind, rain, and sun in the same day, and check picking the right season for your trip for the month-by-month detail.
Can I do this 10 day Patagonia itinerary by bus, without a car?
Yes. The entire classic route works on public buses: El Calafate to El Chalten, the cross-border bus to Puerto Natales, and the park transfer into Torres del Paine. A rental car only helps if you want scenic flexibility inside the park, and cross-border permits and one-way fees often make it more hassle than it is worth for this particular route.
Final Thoughts
If a friend asked me whether 10 days is enough for Patagonia, I would not answer with a yes or a no. I would ask how they handle the word “no” themselves, because that is the real skill this trip demands. Ten days is enough for the classic southern route only if you are willing to say no to the extra region, no to the rigid hiking order, and no to the heroic same-day connection.
Say those small no’s, and you get an extraordinary trip: a glacier wall calving into the lake, the first time Fitz Roy burns orange at dawn, a bus rolling across the steppe with the Towers rising on the horizon, and a final hike under a sky that finally, mercifully, clears. The best 10 day Patagonia itinerary is not the one that proves you saw everything. It is the one that puts you in front of the mountain on the day the cloud lifts.
When you are ready to compare this against a 7-day, 2-week, or hiking-focused trip, head back to the sample Patagonia itineraries and build the version that fits your days.