Patagonia Backpacking Itinerary: A Real Budget Route
A realistic Patagonia backpacking itinerary on a budget: buses, hostels, camping, El Chalten's free hikes, day-by-day costs and the W Trek done cheap.
By Patagonia Tourism Guide · First published 11 Jul 2026 · Updated 1 Aug 2026
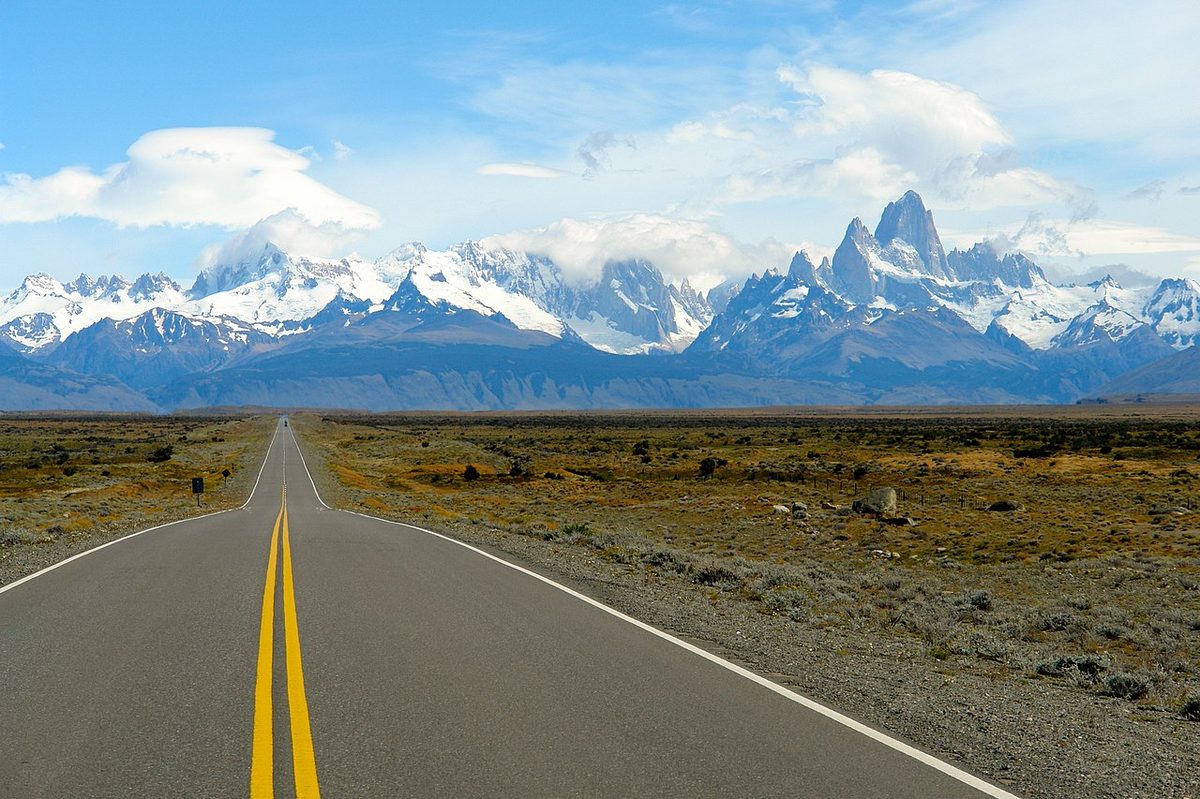
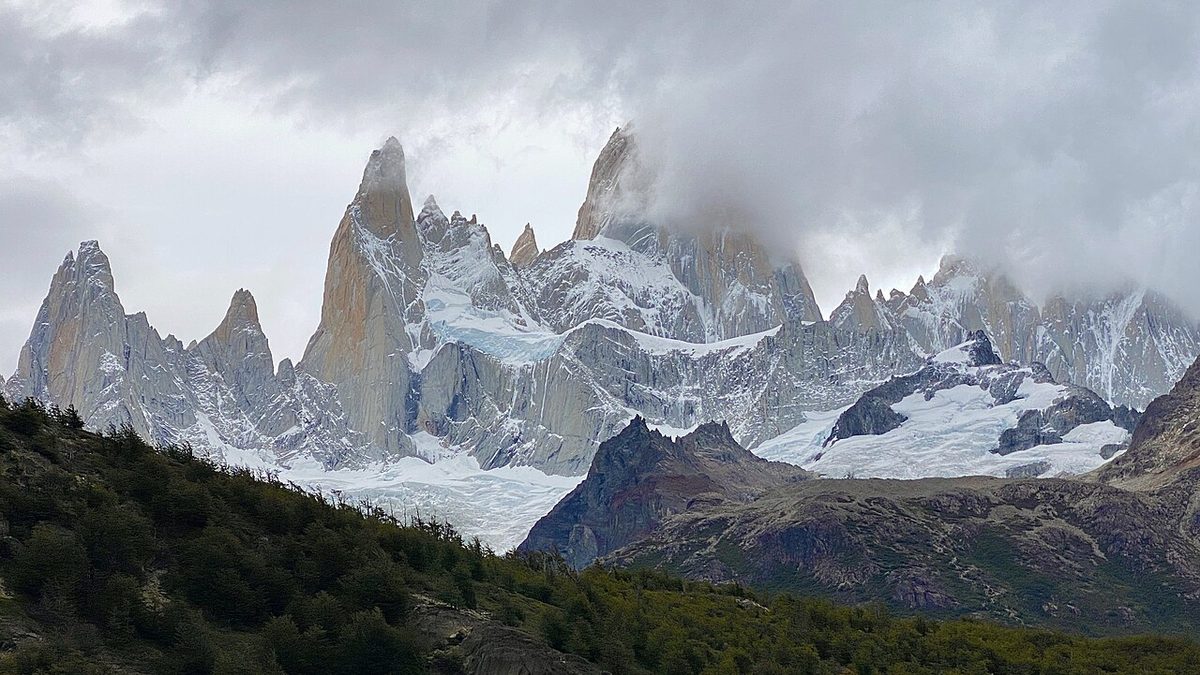
0 — 2 km Fig. 1 · A backpacker on a free trail below Mount Fitz Roy in El Chalten, the budget hero of a Patagonia backpacking itinerary · Photo: lamblukas / CC BY 2.0 via Wikimedia Commons
The first time I priced a Patagonia trip the “normal” way, with flights between every stop and a guided trek bolted on, I closed the laptop and assumed I could not afford it. Then I did it the backpacker way instead: buses, hostel dorms, a tent, a camp stove, and El Chalten’s completely free trails. The trip happened. It cost a fraction of the brochure version, and honestly it was better.
The best Patagonia backpacking itinerary is a roughly two-week loop through southern Patagonia done on buses and in hostels: El Calafate for the Perito Moreno Glacier, El Chalten for free Fitz Roy day hikes, then Puerto Natales and Torres del Paine, where you camp and cook to keep the W Trek cheap. Buses, not flights. Dorms and tents, not lodges.
This guide is for the independent, budget-minded traveler, often solo, often partway through a longer South America trip, who wants Patagonia without the package price. I will give you a day-by-day route you can scale up or down, the real buses with rough fares, how to sleep and eat cheaply, an honest daily-cost ladder, and how to do the W Trek on a budget. If you have more time or money, start instead with the broader Patagonia itinerary planner, which covers 10-day, 2-week, and month-long routes for every travel style.
Is backpacking Patagonia on a budget actually possible?
Short answer: yes, but go in with clear eyes. Patagonia is genuinely expensive by South American standards. Everything has to be trucked or shipped a long way south, tourism keeps growing, and Argentina’s currency situation adds its own chaos. A plate of food and a hostel bed both cost more here than they would in Buenos Aires or Santiago.
The good news is that the things that cost the most in Patagonia, flights between stops, guided tours, in-park lodges, are exactly the things a backpacker skips. The two headline trekking experiences, the Fitz Roy hikes around El Chalten and Torres del Paine, do not require a guide or a tour. You can reach them by public bus, sleep in a dorm or a tent, cook your own pasta, and walk the same well-marked trails everyone else pays a fortune to be shown.
So the budget version is not a watered-down trip. You see the same glaciers, walk the same trails, and stand under the same towers. You just sleep cheaper, eat cheaper, and move cheaper. That is the whole trick.
If you want the full money picture before you commit, read the Patagonia spending estimates alongside this route. It breaks down where the money actually goes.
At a glance: a 2-week Patagonia backpacking route
Here is the spine of the trip. It assumes you fly into El Calafate (the cheapest practical southern gateway) and out of Punta Arenas or El Calafate, and it moves entirely by bus. Costs are rough, per person, and you should always check current fares and fees close to travel.
Day
Base
How you get there
Sleep
Rough day spend*
1
El Calafate
Fly in (or overnight bus)
Hostel dorm
$40-60
2
El Calafate
Local bus to Perito Moreno (~$10-15 rt)
Hostel dorm
$50-70
3
El Chalten
Bus ~3 hrs (~$36)
Hostel dorm
$45-65
4
El Chalten
On foot: Laguna de los Tres (free)
Hostel dorm
$30-45
5
El Chalten
On foot: Laguna Torre (free)
Hostel dorm or free-ish camp
$20-40
6
El Chalten
Buffer / rest / extra free hike
Hostel dorm
$30-45
7
Puerto Natales
Bus via El Calafate, ~5-7 hrs + border (~$35-44)
Hostel dorm
$50-70
8
Puerto Natales
Prep day: rent gear, buy food
Hostel dorm
$40-60
9
Torres del Paine
Bus to park ~2 hrs (~$20 one-way)
Campsite (camp + cook)
$40-70
10
Torres del Paine
W Trek leg
Campsite
$30-60
11
Torres del Paine
W Trek leg
Campsite
$30-60
12
Torres del Paine
W Trek leg
Campsite / catamaran out
$40-80
13
Puerto Natales
Bus back, recover
Hostel dorm
$40-60
14
Out
Bus to Punta Arenas (~$9-12) + fly, or fly El Calafate
–
varies
Swipe to see all columns
Table 1
*Day spend is ballpark accommodation + food + local transport on a frugal-to-standard budget, excluding big one-offs like the Perito Moreno boat, ice trekking, the park entry fee, or your international flights. Camp-and-cook days are cheapest; town and travel days cost more.
For most backpackers, that is the route. The rest of this guide is the how: the buses, the free hikes, the W Trek fork, the money, and how to flex the plan shorter or longer.
How to do this trip cheaply: the five levers
Before the day-by-day, understand the five things that actually move your budget. Pull these levers and Patagonia goes from “I can’t afford it” to “around fifty dollars a day.”
Buses, not flights. Within the southern triangle, the bus is the budget backbone. El Calafate to El Chalten, El Calafate to Puerto Natales, Puerto Natales into the park, these are all comfortable, scenic bus rides for tens of dollars, not hundreds. The only stop worth flying to is far-off Bariloche, and even then you fly because the bus is a 26-hour epic, not because flying is cheaper. The full breakdown lives in how to get to and around Patagonia.
Dorms and tents, not lodges. A hostel dorm bed runs roughly $15-30 per person depending on town and season; camping drops that to single digits or, in El Chalten, sometimes nothing. Carrying a tent is the single biggest money-saver on the whole trip, because it unlocks the cheapest sleep in the most beautiful places.
Cook your own food. Restaurant meals in Patagonia are pricey because the ingredients travelled as far as you did. Hostels have kitchens; supermarkets in El Calafate, Puerto Natales, and Punta Arenas are well stocked. A backpacker who self-caters and buys the lunchtime menu del día when they do eat out spends a fraction of what the eat-out-every-night traveler does.
Walk the free trails. This is where El Chalten earns its place as the budget hero, and I will come back to it. The headline Fitz Roy and Cerro Torre day hikes are free, no guide, no permit, no tour. That alone can carry several of your best days at almost no cost.
Travel in shoulder season. Prices and crowds both peak December through February. Come in November or March (or the very edges, late October and April) and beds, buses, and tours are cheaper and easier to get, with weather that is still workable. Read best time to visit Patagonia before you lock dates.
This is the realistic version, the one I would actually walk. I have written it as roughly two weeks because that is the sweet spot for a first southern-Patagonia backpacking trip. Further down I show you how to compress it to about 10-12 days or stretch it past three weeks.
Days 1-2: El Calafate and the Perito Moreno Glacier
Fly into El Calafate, the practical southern gateway and home to its own airport. Some backpackers arrive instead on a long overnight bus from the north to save a flight; that works, but the southern bus legs run in daylight, so do not assume a magic sleeper exists for every route.
Use day one as a soft landing. Find your hostel, sort cash (more on Argentina’s money mess below), buy any food and layers you are missing, and confirm tomorrow’s glacier bus. El Calafate has a good cluster of backpacker hostels with kitchens; book a dorm ahead in peak season.
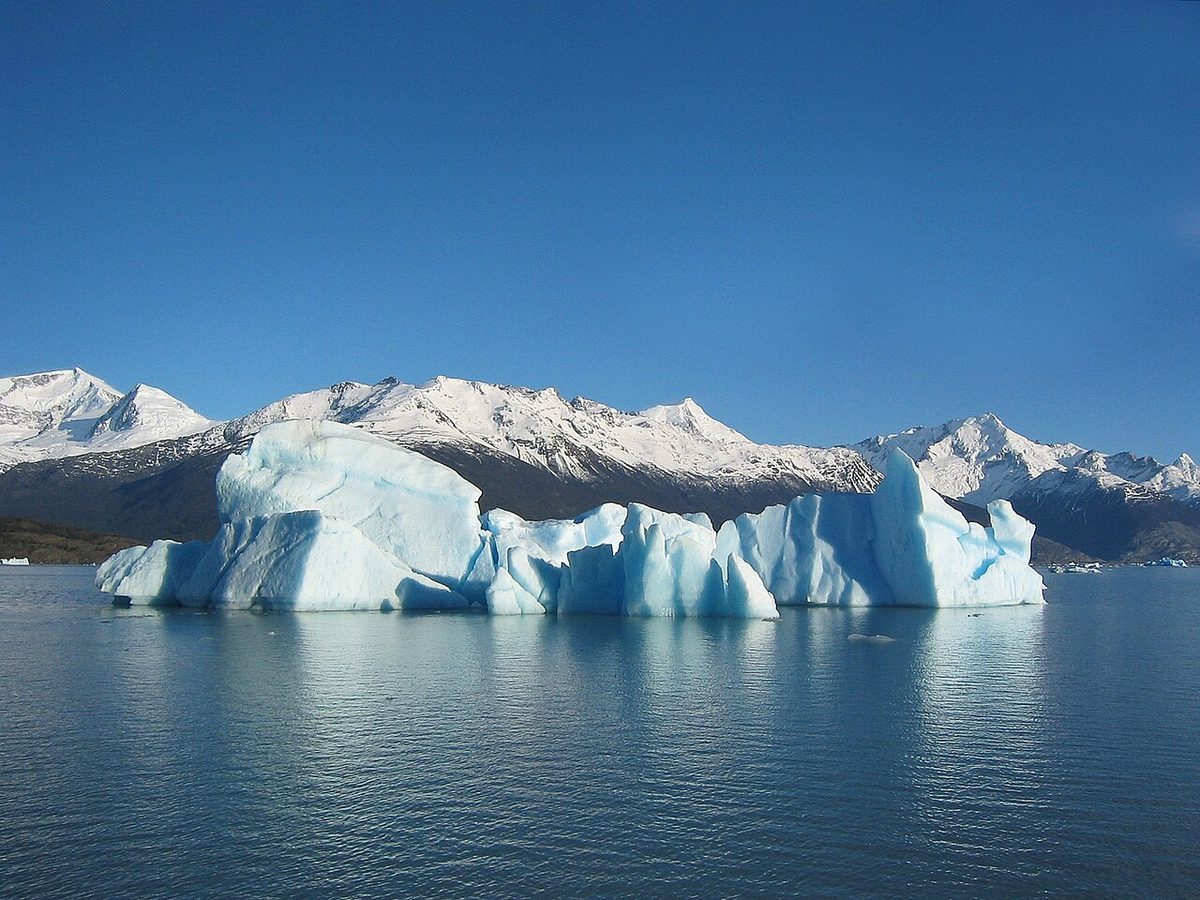
On day two, take the local bus out to the Perito Moreno Glacier. It sits about 80 kilometres from town in Los Glaciares National Park, around an hour and a half each way, and a round-trip shuttle is roughly $10-15. You will also pay the park’s southern-section entry fee on arrival, which is modest and changes periodically, so check the current figure. Spend the whole day on the steel walkways watching a wall of ice calve into the lake. The boat approaches and ice-trek add-ons are wonderful but cost real money; they are optional, not essential. For the deeper version of this stop, see the Perito Moreno glacier walkthrough.
Sleep: hostel dorm in El Calafate, both nights.
Days 3-6: El Chalten, the budget hero
This is the heart of a budget trip, and the reason a backpacker can do Patagonia so cheaply. Take a morning bus north to El Chalten, roughly a three-hour ride for around $36, run by operators like Chalten Travel, Cal Tur, and Marga Taqsa, usually stopping at El Calafate’s airport on the way. Visit Argentina calls El Chalten the country’s trekking capital, and the whole town is built around walking out your hostel door and onto a trail.
Here is the budget magic: the trails are free. Argentina’s Los Glaciares National Park keeps open, no-cost access to the Fitz Roy and Cerro Torre paths, with no permit required. You just stop at the park office in town to register before your first hike, which is free and takes a few minutes. No tour, no guide, no ticket gate. Your biggest hiking days can cost you nothing but the food in your pack.
Spend three to four nights here so the weather cannot wreck your plans. El Chalten’s mountains make their own forecast, and the travelers who only budget one hiking day are gambling their Fitz Roy view on a single sky.
Day 4: Laguna de los Tres, the classic Fitz Roy viewpoint hike, around 20-21 kilometres round trip from town with a brutal final climb and a payoff that justifies the whole trip. Free.
Day 5: Laguna Torre, an easier walk to a glacial lake beneath the spire of Cerro Torre, roughly 18-22 kilometres round trip. Free. If you have a tent and want to save a night, there are in-park campgrounds along these routes; historically free, though reservations and small fees have been introduced, so check the current rules.
Day 6: Buffer day. If the weather robbed you earlier, this is your second chance. If it did not, add a shorter walk like Mirador de los Condores, do laundry, and let your legs recover.
One practical warning: El Chalten is remote, and ATMs and card payments are unreliable. Arrive with enough cash. The deeper trail-by-trail detail is in the walk-through of Laguna de los Tres.
Sleep: hostel dorm in El Chalten (or a night camping on the trail if you carry a tent).
Day 7: Cross to Chile and Puerto Natales
This is a logistics day, so treat it as one. Most backpackers route back through El Calafate to catch the cross-border bus to Puerto Natales, the gateway town for Torres del Paine. The El Calafate to Puerto Natales bus runs around 5-7 hours including the border crossing, costs roughly $35-44, and is run by companies like Bus Sur, Marga Taqsa, and Turismo Zaahj, with morning and afternoon departures. In peak season the seats sell out, so book a day or two ahead.
At the border you cross from Argentina into Chile at Cerro Castillo. You cannot bring fresh fruit, vegetables, meat, or dairy into Chile; declare what you have and eat or ditch it beforehand. Keep the tourist card you are issued for when you leave. The border mechanics are covered in the Patagonia road trips and border crossings guide if you want the full picture.
Sleep: hostel dorm in Puerto Natales.
Day 8: Prep day in Puerto Natales
Do not skip this day; it is what makes a cheap W Trek possible. Puerto Natales is where you rent camping gear if you did not bring it, buy all your trail food at the supermarket (much cheaper than anything inside the park), do laundry, and confirm your park bookings and bus. Eat a proper meal in town while you still can.
Puerto Natales has a strong backpacker scene and plenty of hostels with kitchens and gear shops. Chile Travel notes it as the staging town for the trek, and it is genuinely the cheapest place to get organised before you walk. For where to base across the whole region, which towns make good bases compares the towns.
Take an early bus from Puerto Natales to the park, around two hours, roughly $20 one-way, then start walking. This is the famous W Trek, a roughly four-to-five-day, 70-kilometre route past the towers, French Valley, and Grey Glacier. You do not need a tour to do it. The trails are well-marked and busy; what you do need, and must arrange in advance, is your sleep at the campsites or refugios along the way, plus your park entry.
The budget way is to camp and cook. Campsites along the W are run by two operators, Vertice and Las Torres (formerly Fantastico Sur), and a tent site runs roughly $12-20 per person per night, a fraction of the refugio dorm beds, which can run from around $60 well into the hundreds with meals. Carry a stove and the food you bought in Puerto Natales and you sidestep the park’s eye-watering meal prices entirely. If you do not own gear, rent it in Puerto Natales; even with rental, camping comes out far cheaper than refugios.
A heads-up on fees you must verify: Chile is changing how Torres del Paine charges entry. Reporting indicates a move toward a route-based fee system from May 2026, with separate tickets for a day visit, the Base Torres trail, the W, and the full O Circuit, and at the time of writing an official price list had not been published. So do not trust any single dollar figure you read, including older ones quoting around $32; check CONAF directly for the current fee and book your entry online in advance. The full trekking breakdown, including the longer O Circuit, is in the Torres del Paine W Trek and O Circuit guide.
A typical budget W, west to east, looks like: bus in and walk to Paine Grande; up to Grey Glacier and back; into French Valley; over to the base of the towers for a sunrise climb to the Mirador, then out. You will use the Pehoe catamaran at least once, which carries its own fee, so factor that in too. Whatever order you walk it, book the campsites the moment reservations open, because they sell out months ahead.
Sleep: campsites inside the park, three to four nights.
Days 13-14: Recover and fly home
Bus back to Puerto Natales, sleep in a real bed, eat something that did not come out of a camp pot, and do your laundry. To fly home cheaply, take the short, cheap bus from Puerto Natales to Punta Arenas (around 3 hours, roughly $9-12), which has more flights and better prices than tiny Puerto Natales. Alternatively, loop back to El Calafate to fly from there. Either way, do not book a same-day international connection off a cross-border bus; give yourself the buffer.
The honest daily-cost ladder
Anyone who gives you one number for “what Patagonia costs per day” is misleading you. It depends entirely on how you sleep, eat, and move. Here is the honest ladder, per person, hedged, and excluding international flights and big one-off tours.
Frugal: around $25-35 a day. You camp almost every night, cook every meal, walk free trails, take the minimum buses, and maybe hitch the occasional leg. This is the legendary shoestring version. It is real, but it is hard work and weather-dependent.
Standard backpacker: around $50 a day. This is the realistic number most independent travelers land on. Hostel dorms, public buses, self-catering with the odd menu del día, camping on the W. The route in this guide is built around roughly this level.
Comfortable: $80-120+ a day. Private hostel rooms or guesthouses, more eating out, the occasional tour or boat add-on, refugios instead of tents on the W. Still independent, just softer.
Across a two-week southern loop, a serious-budget traveler can keep ground costs (beds, food, local and regional buses) to roughly $600-900 before international flights and big optional extras. Add the Perito Moreno boat, ice trekking, refugio beds, or guided anything and it climbs from there. The point is to choose your level deliberately rather than drifting into the expensive version by accident.
This is the decision that most shapes your Torres del Paine spend, so let me be blunt about the trade-off.
Camping and cooking is the budget play. Tent sites are cheap, you carry and cook your own food, and you sleep among the mountains for a fraction of the alternative. The costs are effort and weight: you haul a tent, sleeping bag, mat, stove, and food, and you sleep on the ground in famously fierce wind. If you own decent gear or rent it in Puerto Natales, this is comfortably the cheapest way to walk the W, and for a lot of backpackers it is also the most satisfying.
Refugios are the comfort play: a bunk in a heated hut, often with the option to buy meals, no tent to carry. They are also dramatically more expensive per night, and the meal packages add up fast. On a tight budget, every refugio night is a meaningful hit.
The honest middle path many people walk: camp most nights, and treat one refugio night or one bought meal as a morale splurge rather than the default. Whatever you choose, book early. Both operators’ sites fill months in advance, and arriving without a reservation is not a plan, the park expects you to have your nights booked before you walk. Pair this with the backcountry safety basics so you carry the right kit and nothing you do not need.
Buses, booking, and logistics
The whole budget model rests on buses, so here is how they actually work on this route. Treat all fares as rough and seasonal.
El Calafate to El Chalten: around 2.5-3 hours, roughly $36, multiple daily departures. No border. (Chalten Travel, Cal Tur, Marga Taqsa.)
El Calafate to Puerto Natales: around 5-7 hours including the Cerro Castillo border crossing, roughly $35-44, morning and afternoon departures. (Bus Sur, Marga Taqsa, Turismo Zaahj.)
Puerto Natales to Torres del Paine: around 2 hours, roughly $20 one-way, early-morning and midday park buses.
Punta Arenas to Puerto Natales: around 3 hours, roughly $9-12, several daily. Handy if you fly in or out of Punta Arenas.
El Calafate to Bariloche: the outlier, around 26-28 hours by bus for roughly $325, and only daily in the October-to-April hiking season. This is the one leg where a flight is genuinely the smarter call, often little more than the bus and a fraction of the time.
A few rules that save money and stress. Book ahead in peak season (roughly November to February); seats genuinely sell out, and in the busiest weeks you can lose a day or two waiting for a free spot. Most long-distance Patagonia buses run in daylight, so do not count on overnight sleepers to save you a night’s accommodation the way you might elsewhere in South America. You can often book at the terminal a day or two before for frequent routes, or use an online aggregator to lock the scarce cross-border legs early. The backpacker rhythm is simple: the moment you arrive somewhere, buy your onward ticket for when you plan to leave.
The money situation in Argentina (read this)
Argentina’s currency is the one thing that genuinely catches backpackers out, and getting it right saves real money. The peso has been volatile for years, and the official exchange rate is bad for visitors. There are two better ways to spend.
Pay by card and choose to be charged in pesos, not dollars. International cards now generally apply a favourable tourist (MEP) rate that is close to the old “blue dollar” street rate, which means card spending suddenly stops feeling like a rip-off. Alternatively, bring clean, unmarked US$100 bills and exchange them at the better rate, or send money to yourself via Western Union and collect pesos at a far better rate than an ATM gives.
Avoid Argentine ATMs where you can. Withdrawal caps are low, fees are high, and machines in small towns run dry, especially on weekends. The most important practical takeaway for this route: El Chalten has poor ATM and card reliability, so arrive there with enough cash for your stay. On the Chilean side, cards work more normally, but campsites, small hostales, and rural stops often want cash, so keep some Chilean pesos on you. None of this is a reason to avoid Argentina; it is just a reason to plan your cash before you go remote. For solo travelers weighing all of this, the Patagonia solo travel guide digs into the practicalities.
Solo and safety notes
Most people backpacking this route are doing it solo or in loose pairs, and southern Patagonia is one of the more reassuring places in the world to do that. The towns are small and used to travelers, the hostels are sociable, and you will meet the same faces moving along the same corridor. Hitchhiking is a normal and accepted way to get around here, especially on the Argentine side, though it is slower and less certain than the bus and carries the usual risks; I would lean on buses for the core route and treat a hitch as a bonus, not a plan.
The real risks in Patagonia are environmental, not human. The weather is the thing that hurts people: wind that can knock you over, sun and snow in the same afternoon, exposed trails with no shelter. Carry proper layers and rain gear, start hikes early, tell your hostel your plan, and turn back when a forecast turns. Register at the park offices where required. The mountains here do not care about your itinerary, which is exactly why every version of this route keeps a buffer day.
How to scale this route shorter or longer
The two-week loop is the comfortable core, but it flexes.
Around 10-12 days: drop the buffer days and trim El Chalten to two or three nights, or do Torres del Paine as day hikes from Puerto Natales instead of the full W. You keep the glacier, Fitz Roy, and the towers; you just hold the weather margin tighter. The 10 day Patagonia itinerary version of the classic route is the closest comparison.
Three weeks or more: add Bariloche and the northern lakes (fly there, do not bus the 26 hours), or push north onto the Carretera Austral, the famous gravel road where hitchhiking and wild camping become part of the adventure and the budget drops accordingly. Three weeks is also enough to walk the longer O Circuit instead of the W. For trail-first travelers, the guide to linking Patagonia’s big treks reshapes the whole thing around walking, and the 2 week Patagonia itinerary is the comfort-tier sibling to this budget route if you decide to soften it.
Whatever length you choose, protect El Chalten and keep at least one buffer day. The savings only matter if you are still standing in the right valley when the cloud lifts.
What to book ahead
On a budget trip your slack is your tent and your flexibility, but a few things still sell out and must be booked early. In rough order:
International flights, if your dates are fixed, and the El Calafate or Punta Arenas domestic legs.
Torres del Paine campsites or refugios, the moment reservations open, this is the hardest thing to get and it dictates your W dates.
Your Torres del Paine park entry, online via CONAF, following the current (changing) fee rules.
Cross-border and scarce buses in peak season, especially El Calafate to Puerto Natales.
In-demand hostel dorms in El Chalten and Puerto Natales during December to February.
Any optional splurges you actually want: the Perito Moreno boat, ice trekking, a refugio night.
Everything else, frequent buses, town meals, gear rental, you can sort on the ground a day or two ahead. For the numbers behind all of this, keep the Patagonia trip cost and budget guide open while you plan.
Yes. Patagonia is expensive by South American standards, but the costly parts, flights between stops, tours, and lodges, are exactly what backpackers skip. Travel by bus, sleep in hostel dorms or a tent, cook your own food, and walk the free trails, and a frugal traveler can do southern Patagonia on roughly fifty dollars a day or less.
How much does it cost to backpack Patagonia per day?
It depends on how you sleep and eat. Camping, cooking, and minimal buses can bring you to around $25-35 a day. The realistic standard backpacker level, hostel dorms plus public buses plus self-catering, is around $50 a day. Add private rooms, eating out, tours, and refugios and it climbs to $80-120 or more. Always check current prices.
How many days do you need to backpack Patagonia?
Around two weeks is the sweet spot for a first southern loop: El Calafate, El Chalten, Puerto Natales, and Torres del Paine by bus, with weather buffers. You can compress it to about 10-12 days by trimming buffer days or doing day hikes instead of the full W Trek, or stretch it past three weeks to add Bariloche or the Carretera Austral.
Is El Chalten free to hike, and do you need a permit for Fitz Roy?
El Chalten’s trails are free, and no permit is required for the Fitz Roy and Cerro Torre day hikes. Argentina’s Los Glaciares National Park keeps open access; you simply register at the park office in town before your first hike, which is free and quick. That is why El Chalten is the budget hero of any Patagonia backpacking trip.
Can you do the W Trek in Torres del Paine on a budget?
Yes, and without a guide. The trails are well-marked and busy. To keep it cheap, camp rather than book refugios (tent sites run roughly $12-20 per